

Have you ever watched WWE and wanted to hold your own championship belt? Making your own wrestling belt is a fun project that anyone can do at home. You can make one for game night, birthday parties, or just for fun. This guide will show you how to create your own belt using simple materials.
Championship belts have a special place in wrestling history. They started as simple leather straps with metal plates in the early 1900s. Over time, they became bigger, shinier, and more detailed. Today's wrestling belts are works of art with gold plates, colorful jewels, and custom designs. But you don't need a factory to make one. With some basic craft supplies and a little creativity, you can build your own championship belt at home.
Why Make Your Own Belt?
Championship belts are special because they show you're a winner. Many families use them as trophies for game night. Kids love them for pretend wrestling matches. You can make belts for fantasy football winners, beer pong champions, or even top sales workers at your company. When you make your own belt, you can add your name, favorite colors, and special designs that mean something to you.
What You Need to Get Started
The best part about making a belt is that you don't need fancy stuff. Here's what works great for a basic belt:
For the Main Parts:
-
Foam board from the dollar store (this bends easily and costs less)
-
Cardboard or poster board for templates
-
Thick black fabric or fake leather (2 yards should work)
-
Gold and silver craft paper or spray paint
-
Craft foam sheets in different colors
For Decorating:
-
E6000 glue or hot glue gun
-
Scissors and X-acto knife
-
Sharpie markers
-
Ruler and measuring tape
-
Stick-on jewels for bling
-
Velcro strips for closing the belt
-
Graph paper for planning your design
If you want something that lasts longer and looks more real, you can use real leather and brass plates. But cardboard and foam work great for most projects.
Planning Your Belt Design
Before you start cutting anything, you need a plan. Look up wrestling belts online to get ideas. The most popular designs have a big center plate (called the buckle) and smaller side plates.
Use graph paper to draw your design. This helps you keep everything even on both sides. The main buckle should be around 7 to 12 inches wide and 7 to 8 inches tall. Side plates are usually about 4 inches tall and 3 inches wide. Draw one half of your design, then flip the paper and trace it to make the other half match perfectly.
Think about what you want on your belt. You can add words, logos, shapes, or even pictures. Keep it simple if this is your first belt. You can always make a fancier one later.
Making the Belt Step by Step
Step 1: Create Your Templates
Draw your design on poster board using your graph paper plan. Cut out these shapes carefully. These paper cutouts are your templates that you'll use to trace onto foam board.
Step 2: Cut the Main Pieces
Trace your templates onto foam board using a Sharpie. Use a sharp X-acto knife to cut them out. Cut slowly and carefully. For the belt strap, cut your black fabric or fake leather to at least 48 inches long and 4 to 6 inches wide. This needs to go all the way around your waist.
Step 3: Make it Look 3D
Here's a cool trick: carefully bend the foam board inch by inch in your hands. This makes it curve and look more real. Don't bend it all at once or it might break. If you're using fancy foam board from an art store, this won't work as well. Dollar store foam board works best for this.
Step 4: Add Paper Maché
Cover all your foam pieces with two or three layers of papier-mache. Mix wallpaper paste with water and dip strips of newspaper into it. Put the wet strips all over the foam. Let each layer dry before adding the next one. This makes everything stronger and gives you a good surface for paint to stick to. The pieces might curve more as they dry, which actually makes them look better.
Step 5: Paint and Decorate
Spray your pieces with gold or silver paint. Let them dry completely. While they dry, cut out your designs from colored craft paper. You can make letters, shapes, or any design you want. Glue these onto the painted plates using E6000 glue or hot glue. Add your stick-on jewels wherever you want bling. Some people use a hole punch to make small circles that look like rivets.
Step 6: Attach Everything
Now comes the tricky part. You need to attach the plates to the belt strap. If you're using fabric, you can sew them on with thick needles and strong thread. This takes time but holds really well. If you're using cardboard plates, hot glue works fine. Put lots of glue on the back of each plate and press it firmly onto the belt strap. Hold it in place for a few minutes until the glue cools.
Step 7: Add the Closing
Stick Velcro strips on both ends of the belt. Put one piece on the front side of one end and the other piece on the back side of the other end. This way, they connect when you wrap the belt around your waist.
Making It Extra Special
Want your belt to look even cooler? Here are some ideas:
-
Add glitter to the craft paper before gluing it down
-
Use different colored jewels in patterns
-
Cut out foam letters for your name and glue them on top
-
Paint designs by hand with markers or paint pens
-
Add ribbon or fringe along the edges
You can even make different side plates that swap out. Use small magnets or more Velcro so you can change the look whenever you want. This works great if different people win your belt at different times.
Types of Belts You Can Make
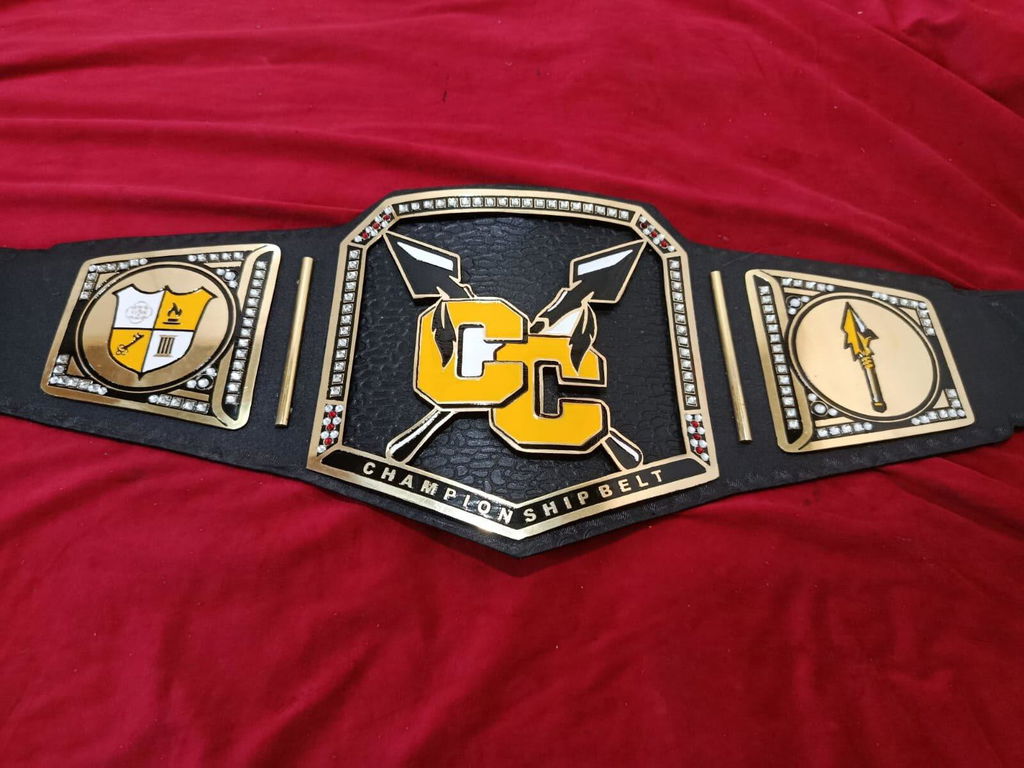
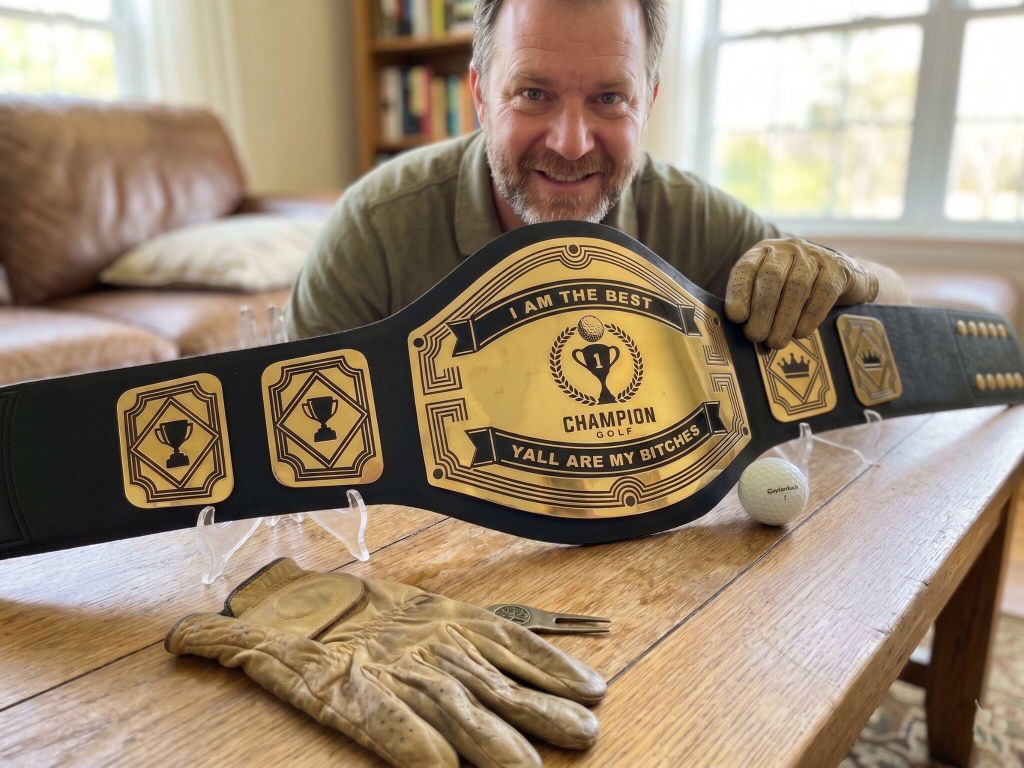
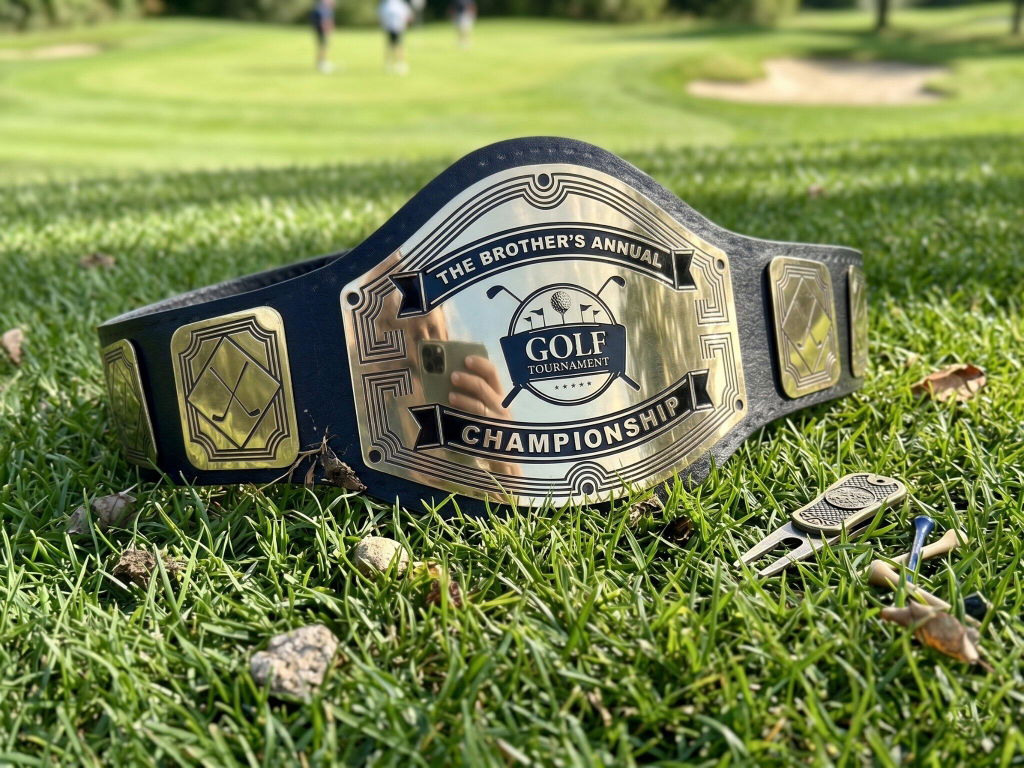
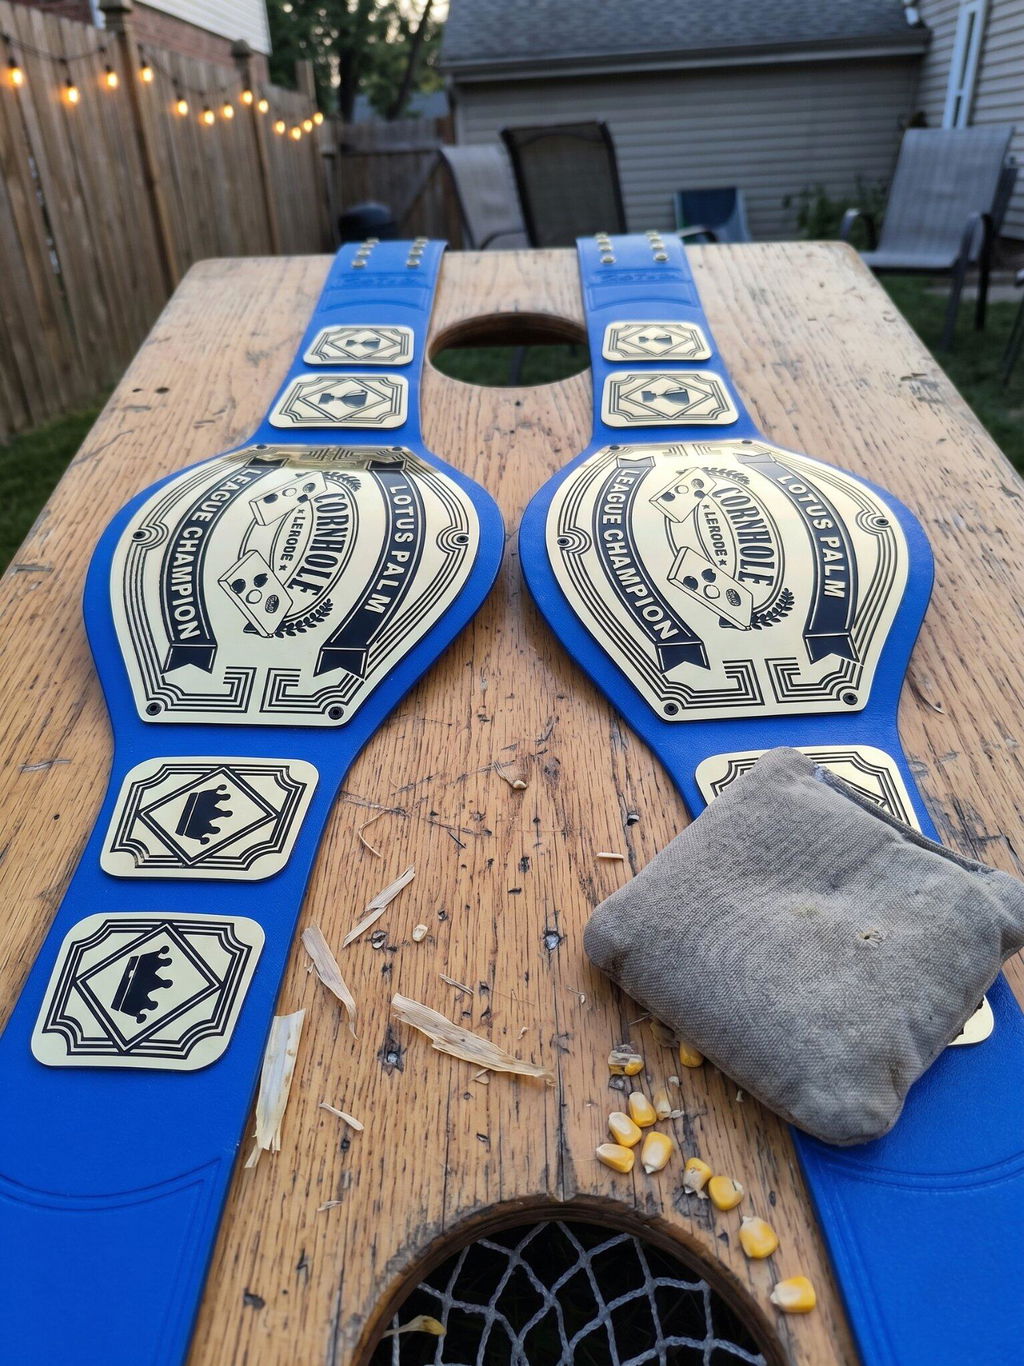
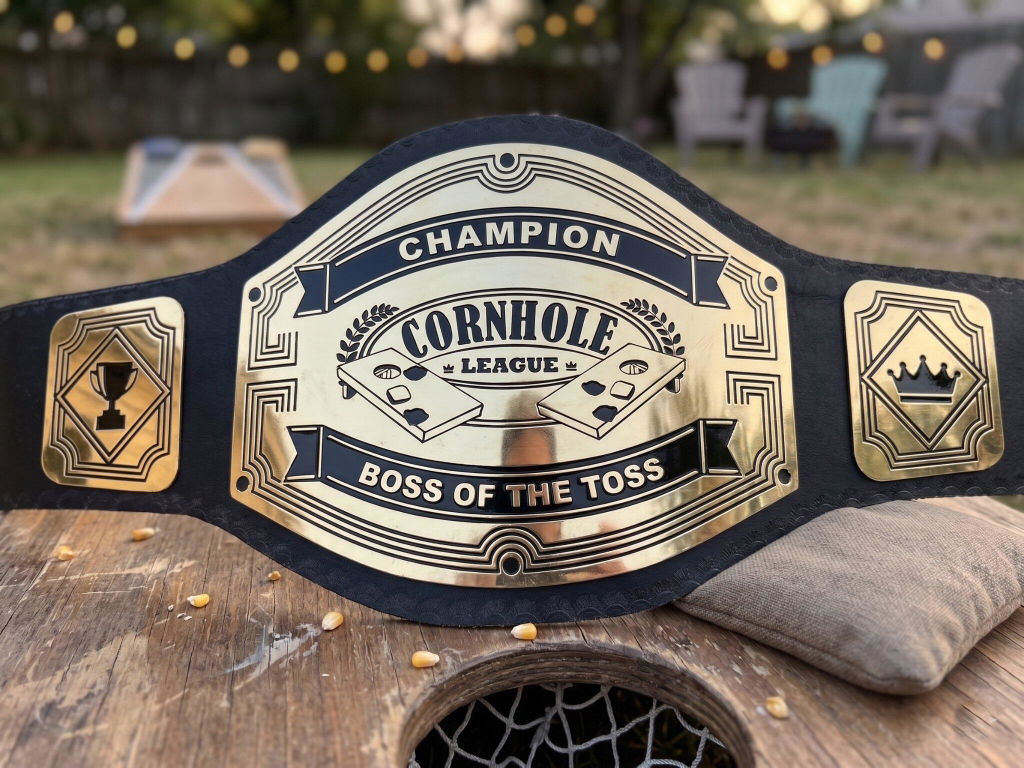
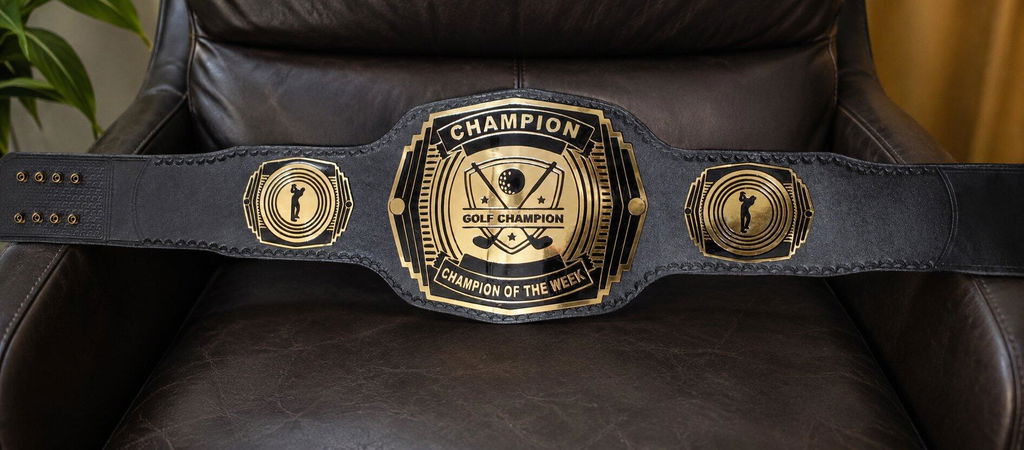
Once you know the basics, you can make belts for anything. Some popular ideas include fantasy football championship title belts that show team names and scores. For sports fans, you can create a basketball championship belt with basketball designs and team colors. During October, kids love making a Halloween championship belt with spooky decorations like bats, pumpkins, and ghosts.
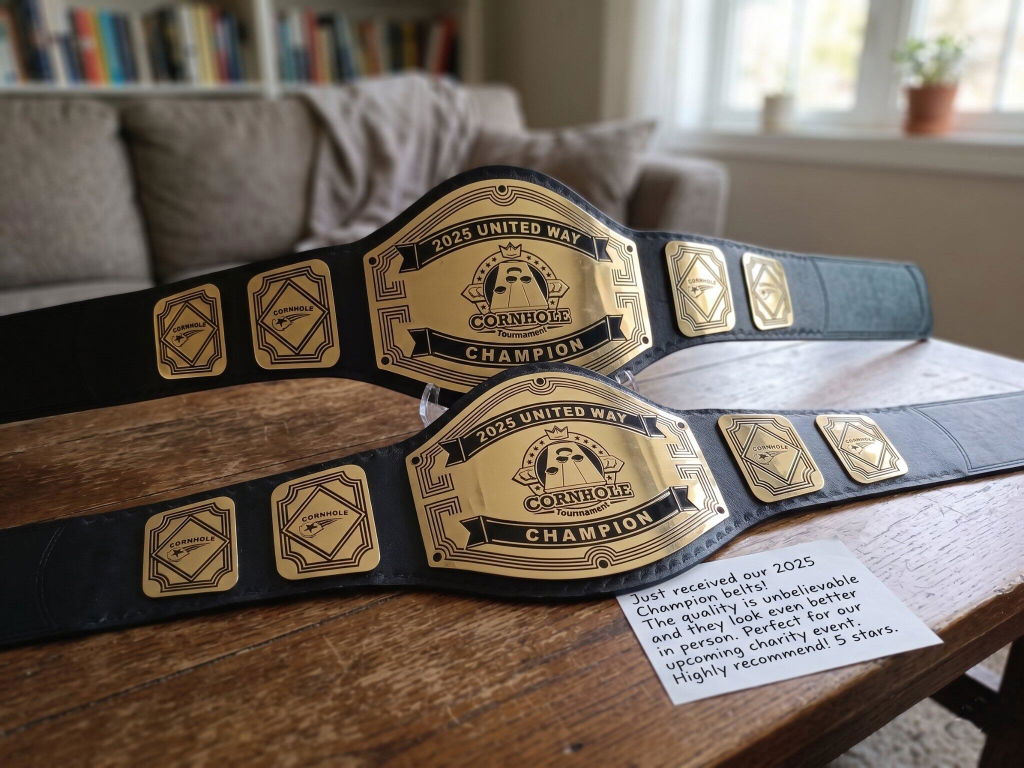
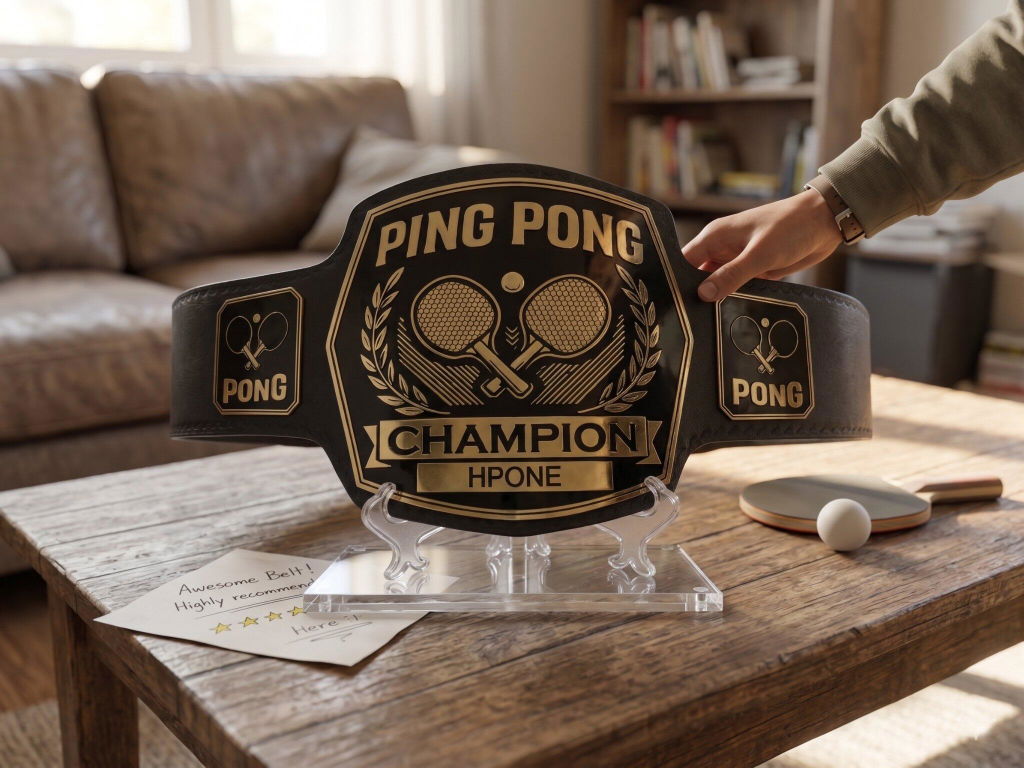
If you want something ready-made that you can customize with your own text and images, check out personalized championship belts that let you add your own designs. You can also find custom wrestling belts for sports, games, and special events.
Taking Care of Your Belt
After you work hard to make your belt, you want it to last. Keep it away from water and direct sunlight, which can make colors fade. If it gets dusty, wipe it gently with a soft cloth. Don't use paper towels because they can scratch the paint. Store your belt flat or hang it on the wall using small hooks.
For belts made with cardboard, be extra gentle. They're great for photos and display but won't hold up to rough play. If kids want to play with the belt a lot, make it with thicker materials that can take more wear.
Final Thoughts
Making your own wrestling belt is easier than you think. You don't need special skills or expensive materials. Most belts take about 2 to 3 days to finish, with most of that time spent waiting for glue and paint to dry. The actual work only takes a few hours.
The best part is showing off something you made with your own hands. Whether you use it for parties, games, or just for fun, your custom wrestling belts will make everyone smile. Kids especially love helping with the decorating, and it makes a great family project.
Ready to create your championship legacy? Visit Customize Wrestling Belts today and explore our collection of premium belts you can personalize with your own text, logos, and images. With over 7 years of experience and 150,000+ champions served, we craft championship belts using durable brass and zinc that last a lifetime. Order now and receive your custom belt in just 5-7 working days with free shipping across the USA. Turn your victory into a lasting symbol – start customizing your championship belt today!